Brew Guide
How to use the Hario V60
Hario V60
The Hario V60 is trusted by home baristas and cafes around the world, the V60 is renown for producing clean cups that highlight the best of whatever kind of coffee you drink.
The name V60 comes down to its design, a 60 degree cone angle, shaped as a V with strategically placed swirling ribs inside of the brewer. It's made to brew quality extractions over and over again. The ceramic material of the V60 provides amazing heat retention as you brew your coffee. The wide single hole opening allows you to brew as fast or as slow as you'd like, giving you full control over your brews.
Follow this brew guide to make the most out of your Hario V60.
Things You'll Need


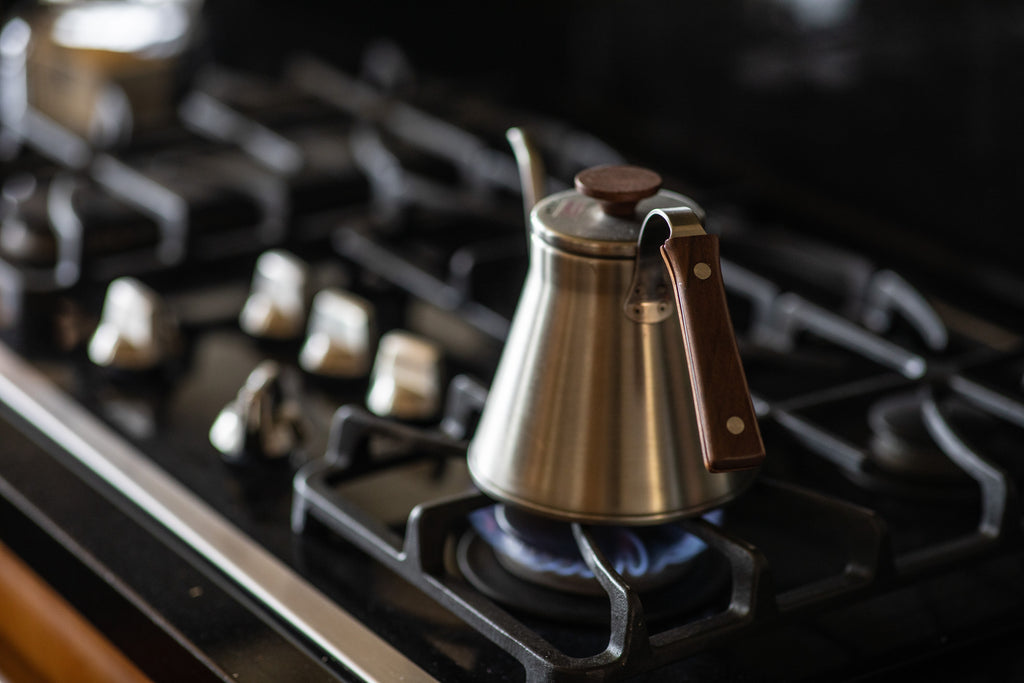
Fill your kettle and bring to a boil.
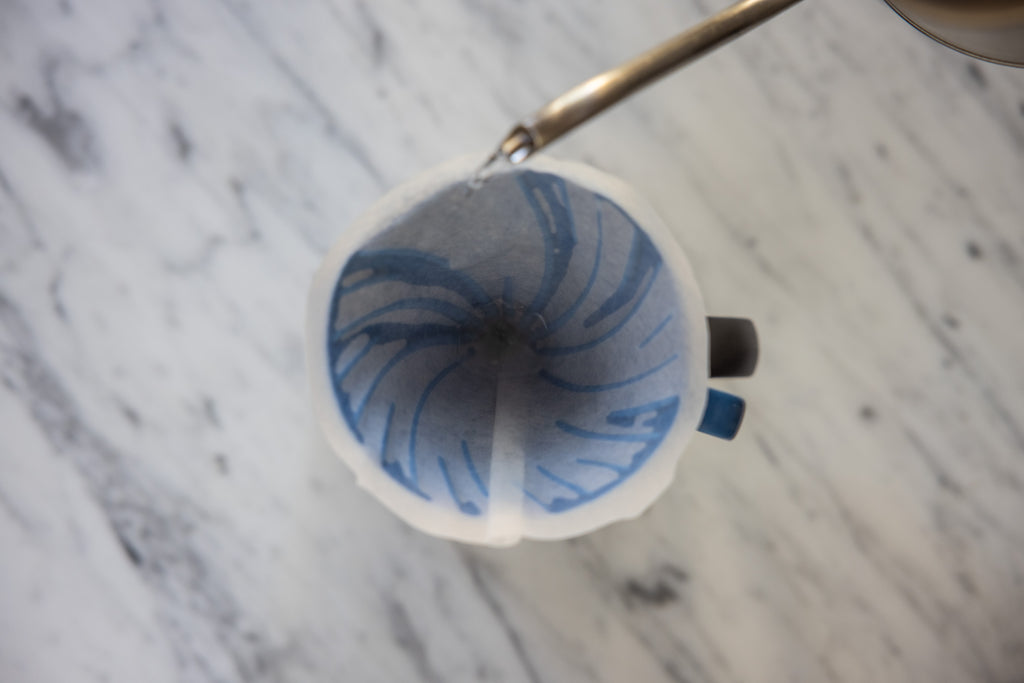
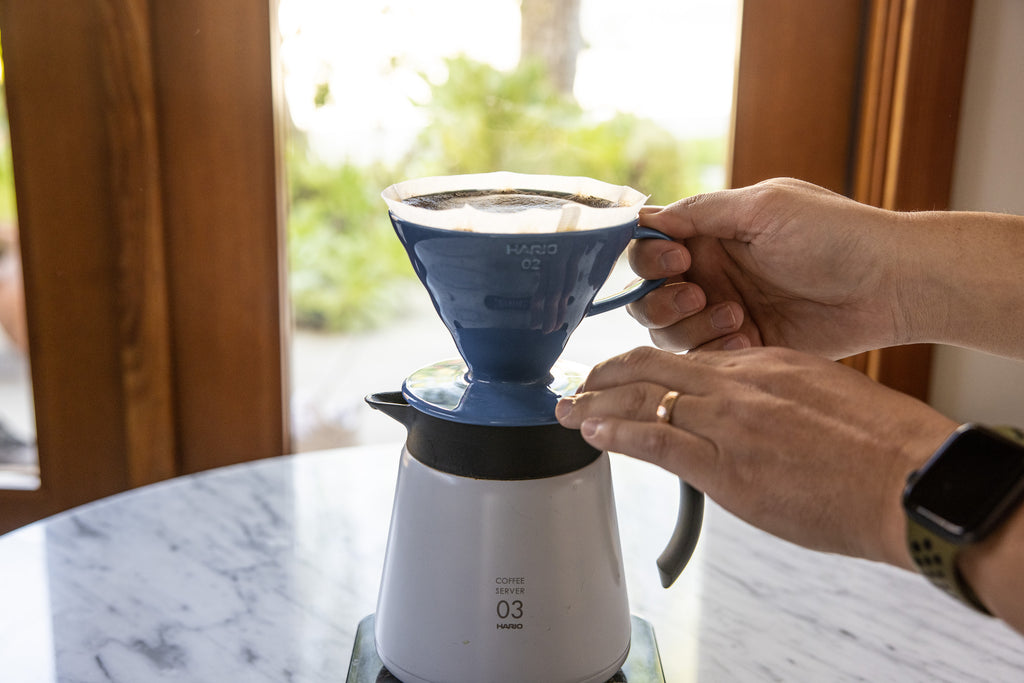
Take a Hario V60 paper filter, set it into the brewer and rinse thoroughly with hot water. This accomplishes two things: (1) helps get rid of the papery taste, and (2) pre-heats the brewing vessel. Make sure the filter is snug on top of the V60.
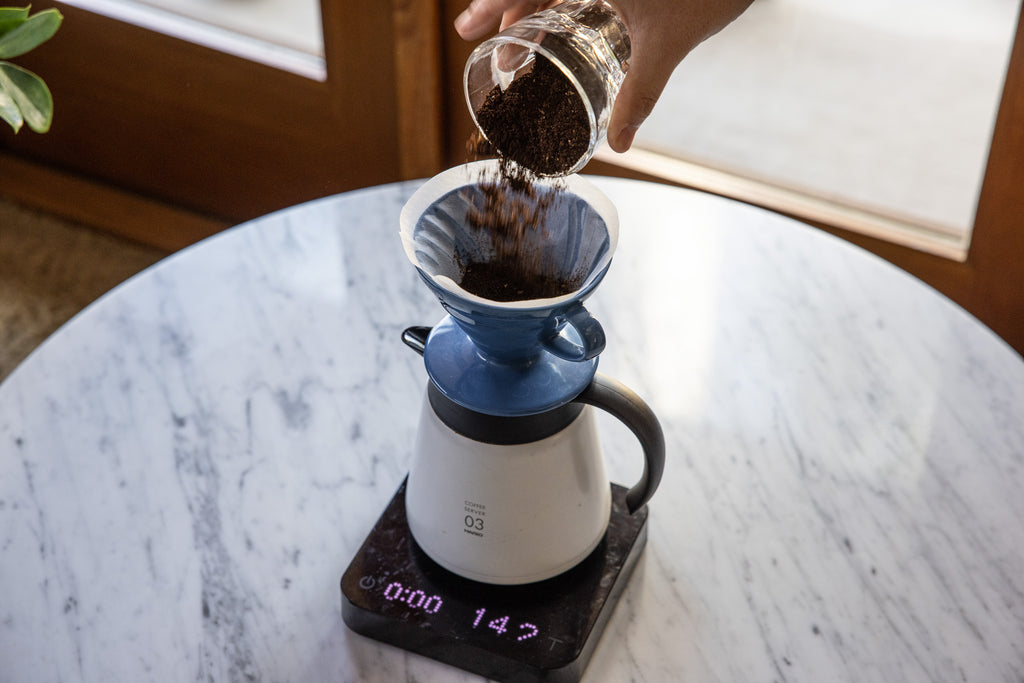
Weigh out your coffee to 26 grams if you have a scale. If you don't, about 4 tbsp is a good rough estimate. Adjust your grinder to give you a medium to medium-fine grind setting. Should look like kosher salt.
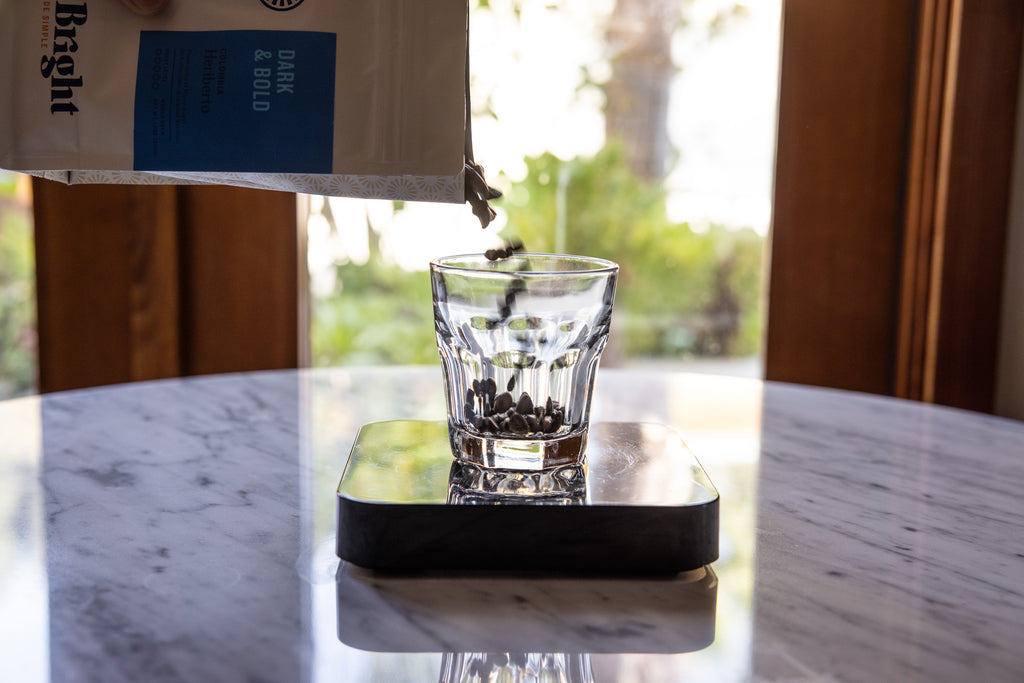
Place the Hario V60 back on the scale (without any water or coffee) and tare to zero.
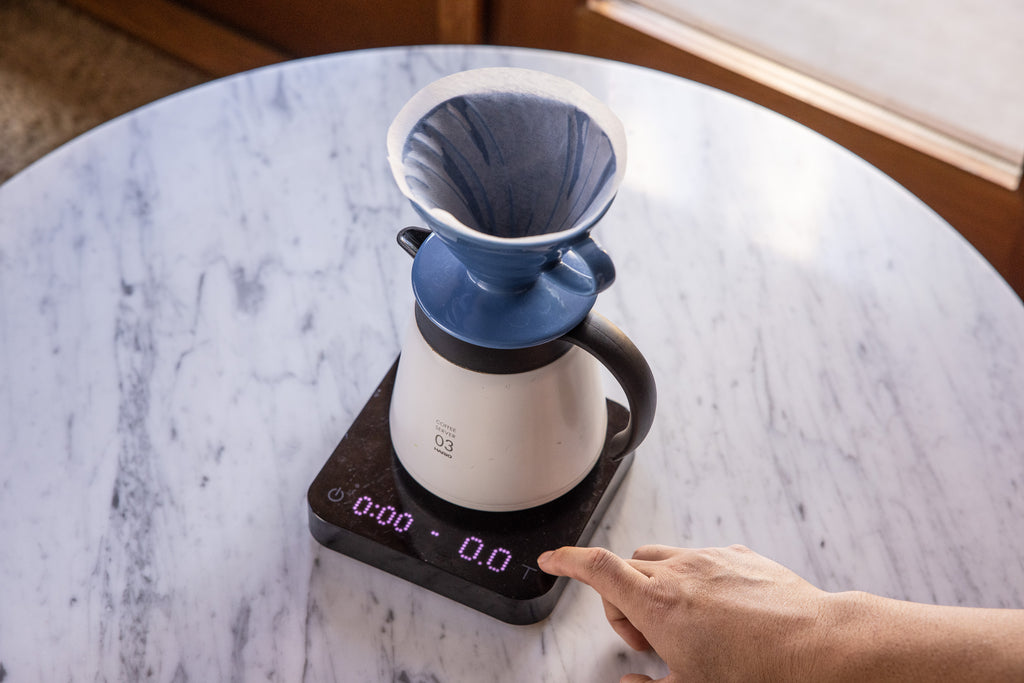
Once the water has reached boiling temperature, grind your coffee and add it to the Hario V60. Confirm your dosage and tare the brewer to zero one more time.
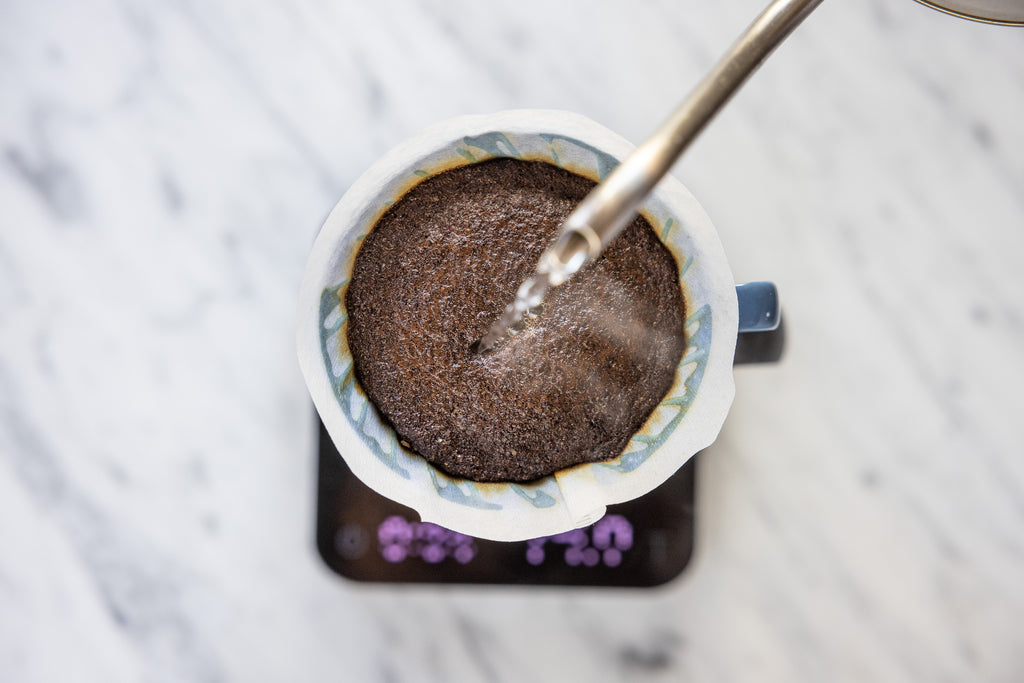
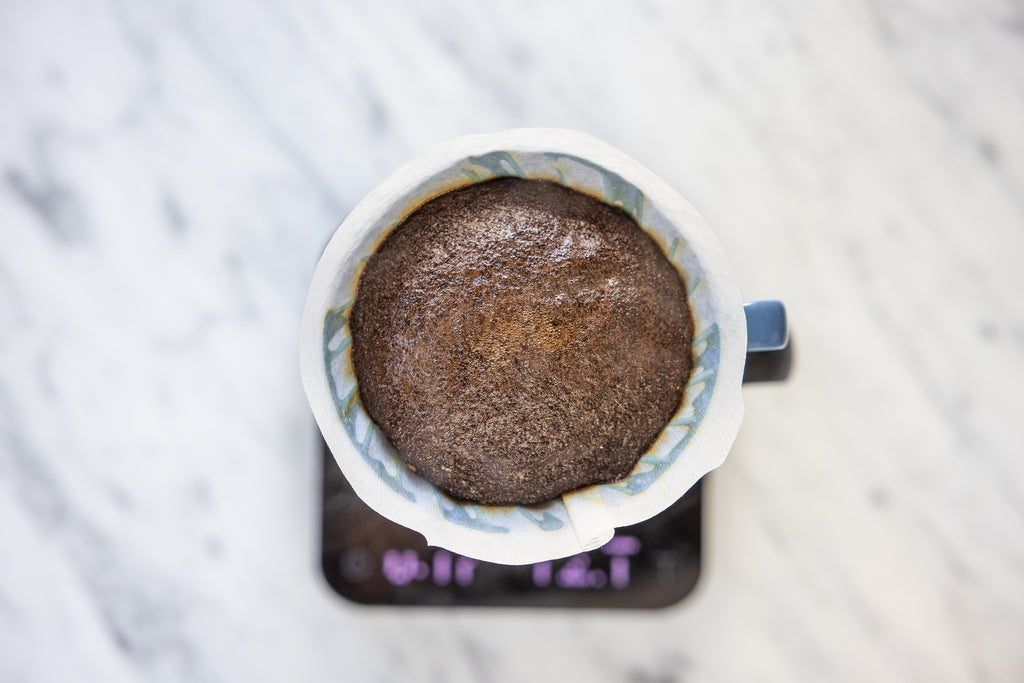
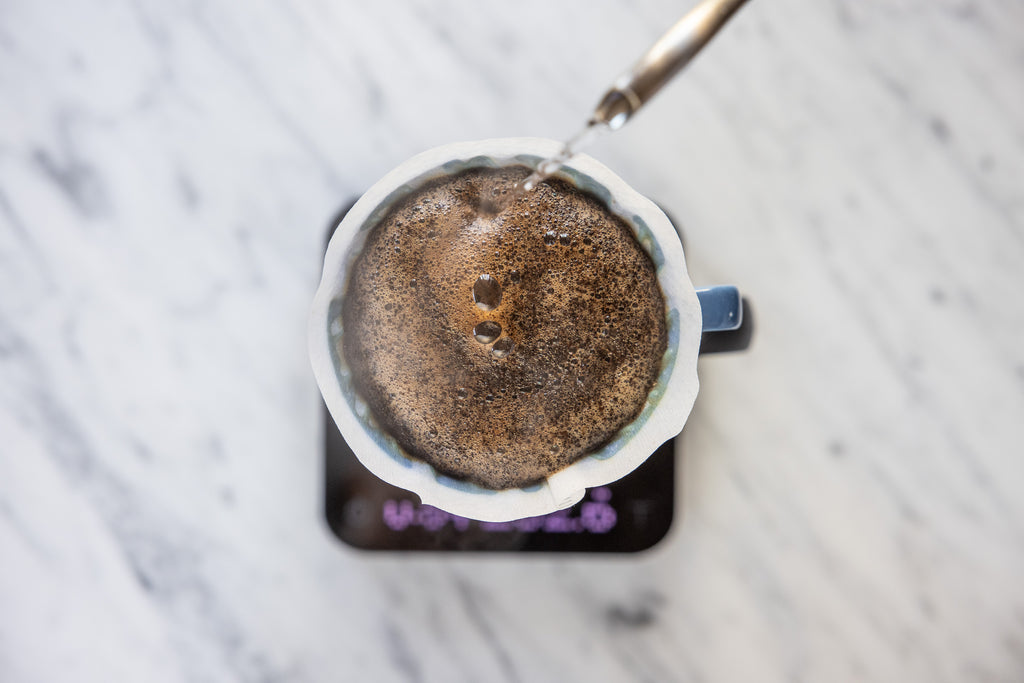
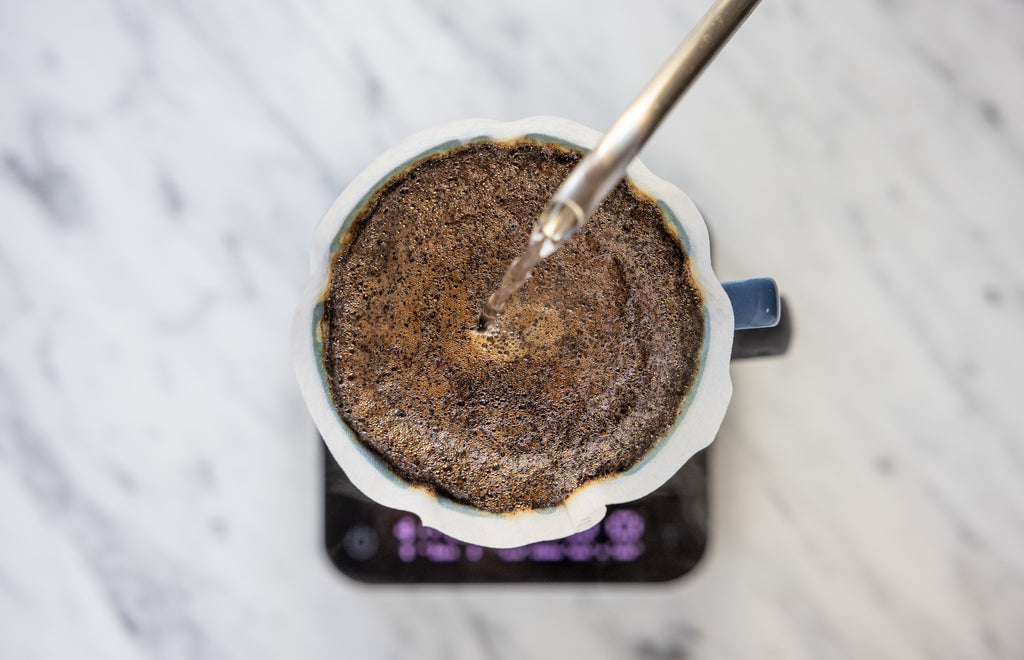
Start your timer and add 70 - 80 grams of water over the grounds. The goal here is to evenly saturate your grounds to help bloom the coffee and to get them ready for extraction.
The first pour is important in setting up your foundation for the rest of the brew. After the 30 second bloom time, we're pouring up to 200 grams on our first pour. This is close to half the total amount of water we'll be using to brew. Focus on your technique here by pouring from the center and working your way out to the edge of the coffee bed in concentric circles.
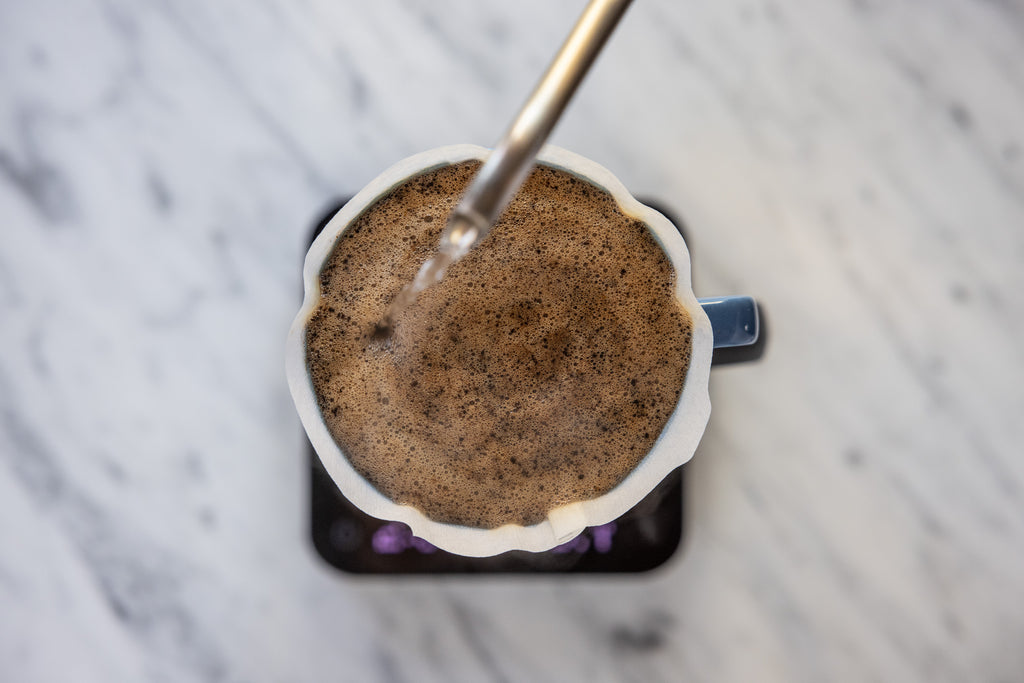
At around the 1:00 to 1:15 minute mark, we can start our second pour. We also want to make sure to add our second pour before the water from the first pour fully drains out through the coffee bed. So we're adding the second pour up to the 300 gram mark.
For our final pour, we're going to guide the water with our gooseneck kettle along the sides of the brewer at the edge of the wall. By doing this, we'll be reincorporating some of the coffees that were left high and dry, and bring them back into the coffee bed. And then we'll work our way back into the center and work our way out. Final pour to 415 grams total.
This is an optional step, but giving the Hario V60 a gentle swirling action as the coffee is drawing down will encourage a more even extraction. We're doing this so that the coffee grinds don't cling to the wall of the V60 dripper as it's drawing down.
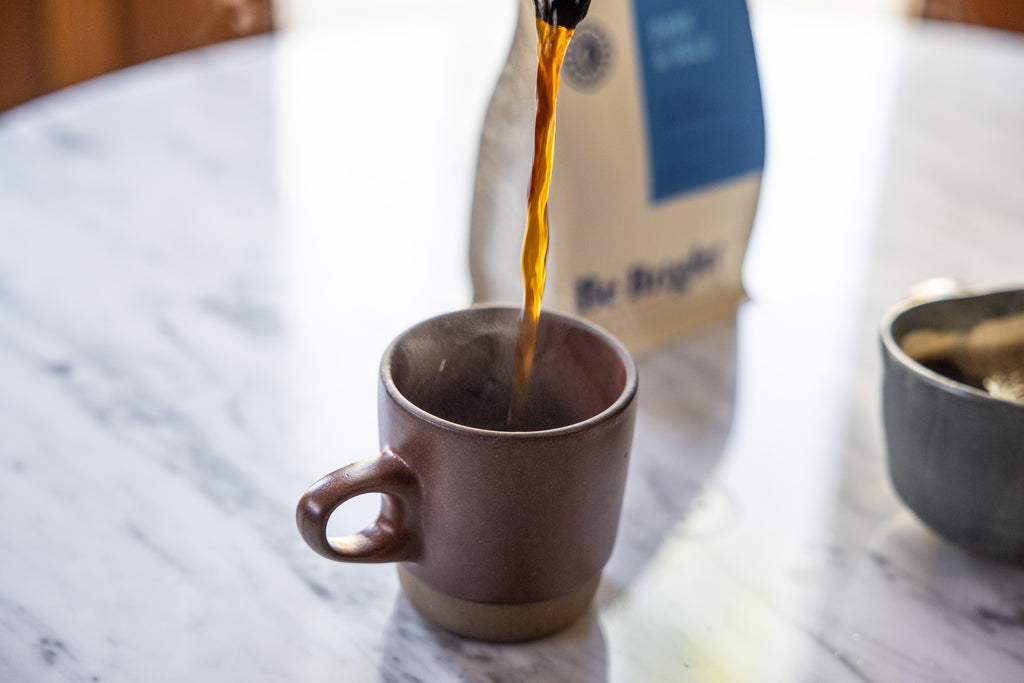
And this is the best part: the moment when your day can finally start. You've got a lot to accomplish today. Now go out there and get going. Life starts after the first sip...Be Bright!


3 Steps to a brighter day
START A SUBSCRIPTION TODAY

1. CHOOSE YOUR PREFERENCES
Take the quiz, choose your preferences, and get matched with a coffee that's just for you.

2. DETERMINE YOUR FREQUENCY
Drink a lot? Drink a little? Customize it to your personal needs. Delivered right to your door, as often as you choose.

3. ENJOY COFFEE YOUR WAY
Get your coffee, your way. Shipped straight to your door. Discover your palate and change it up! Your coffee, your journey.